First create a .txt file with Notepad (if you are using Windows) and paste the following commands. Change the image destination path with your own, then after saving and closing the file, modify the extension from .txt to .scr. The name of the file can be anything you want. I named mine - board_image_export_600dpi
Script for exporting PCB layout board to an image in Eagle CAD:
#<p>Export TOP and BOTTOM layers in two PNG images with 600 DPI. This includes Pads, Vias and Dimensions.</p>
#<p>Silkscreen layers are exported in other two images for TOP and BOTTOM.</p>
#<p>Top layers are mirrored.</p>

SET PALETTE WHITE

DISPLAY None
DISPLAY Bottom Pads Vias Dimension
EXPORT IMAGE C:\Users\YourUserName\Pictures\eagle_export_bottom.png MONOCHROME 600;

DISPLAY None
DISPLAY bPlace bNames Dimension
EXPORT IMAGE C:\Users\YourUserName\Pictures\eagle_export_bPlace.png MONOCHROME 600;

RUN mirror-board.ulp;
RATSNEST

DISPLAY None
DISPLAY Bottom Pads Vias Dimension
EXPORT IMAGE C:\Users\YourUserName\Pictures\eagle_export_top.png MONOCHROME 600;


DISPLAY None
DISPLAY bPlace bNames Dimension
EXPORT IMAGE C:\Users\YourUserName\Pictures\eagle_export_tPlace.png MONOCHROME 600;


RUN mirror-board.ulp;
DISPLAY LAST
SET PALETTE BLACK
RATSNEST
This will export 4 monochrome images in PNG format with a 600 DPI. If your printer support it, this can be modified to 1200.
The top and bottom silkscreens contains Place, Names and Dimension layers. I use Dimension layer to align the corners of the board on paper.
Top layers are mirrored automatically.
Usage
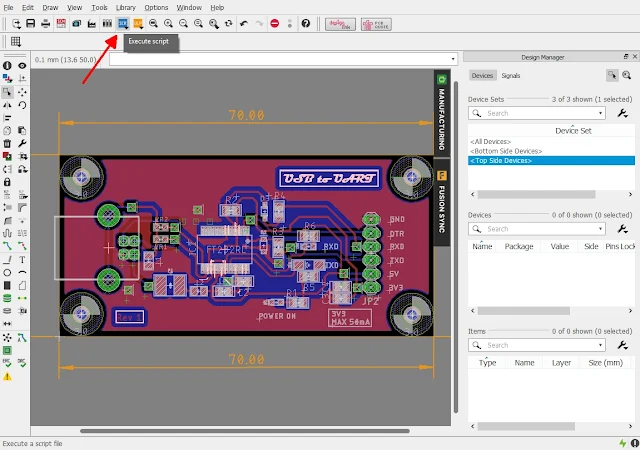
In the Eagle installation folder, there is a folder called scr. Copy the script file to this folder. Then click the scr icon to open the script.Select the file, then click OK to execute the script.
After that you may want to press Escape key to deselect the components. The resulting images may look something like this.
 |
| Bottom side |
 |
| Top side mirrored |
 |
| Top silkscreen mirrored |
Alternatively, the script file can be downloaded bellow.
board_image_export_600dpi.scr


No comments:
Post a Comment